
A heart-shaped cake isn’t just a treat for your taste buds; it’s a heartfelt expression of love, creativity, and affection. Whether you’re celebrating Valentine’s Day, an anniversary, or a birthday, this dessert is the perfect way to show your care. In this guide, you’ll discover how to create a delicious heart cake from scratch. Not only will it be visually stunning, but it will also captivate with its delightful flavors. Ready to get started? Let’s embark on this journey to bake a heart-shaped cake that’s as meaningful as your celebration.
Table of Contents
What Makes a Heart Cake Unique and Special?
A heart-shaped cake is more than just a sweet treat—it’s a universal symbol of love and thoughtfulness, making it ideal for romantic or special occasions. Its distinctive shape ensures it stands out at any event, whether it’s an anniversary, a wedding, or a cozy birthday gathering. The heart design conveys emotion and connection, making it an unforgettable centerpiece.
One of the key reasons heart cakes are cherished is their adaptability. You can customize the flavor to match your preferences—be it a traditional vanilla sponge, decadent chocolate, or a fruity medley. Additionally, the decorative possibilities are endless, ranging from colorful frostings to fresh fruit and sprinkles, allowing you to personalize the cake to your taste and occasion.
Ingredients
You’ll Need Before starting, gather all the necessary ingredients to bring this charming dessert to life. Below is a straightforward ingredient list:
| Ingredient | Quantity | Purpose |
| All-purpose flour | 2 1/2 cups | Forms the base of the cake batter |
| Granulated sugar | 1 1/2 cups | Adds sweetness |
| Unsalted butter | 1 cup (softened) | Provides moisture and flavor |
| Eggs | 3 large | Gives structure |
| Baking powder | 2 tsp | Ensures the cake rises |
| Milk | 1 cup | Adds moisture |
| Vanilla extract | 2 tsp | Enhances the flavor |
| Food coloring (red/pink) | As needed | Provides a romantic hue |
Optional Ingredients:
| Ingredient | Purpose |
| Cocoa powder | Adds a rich chocolate flavor |
| Fresh strawberries | Provides a fresh, sweet garnish |
| Whipped cream | Offers a light and elegant finishing touch |
Essential Tools for Making a Heart Cake To make your heart-shaped cake, you’ll need some key tools. Here’s a list:
- Heart-shaped cake pan: If you don’t have one, you can create the shape using a round and square pan.
- Mixer: An electric mixer ensures a smooth, fluffy batter.
- Spatula and whisk: Handy for mixing and leveling your batter.
- Parchment paper: Prevents the cake from sticking to the pan.
- Measuring cups and spoons: Helps with precise ingredient measurements.
- Piping bag: Perfect for decorative frosting designs.
Having these tools on hand will make the baking process much easier and more efficient.
Step-by-Step Instructions for Crafting the Perfect Heart Cake
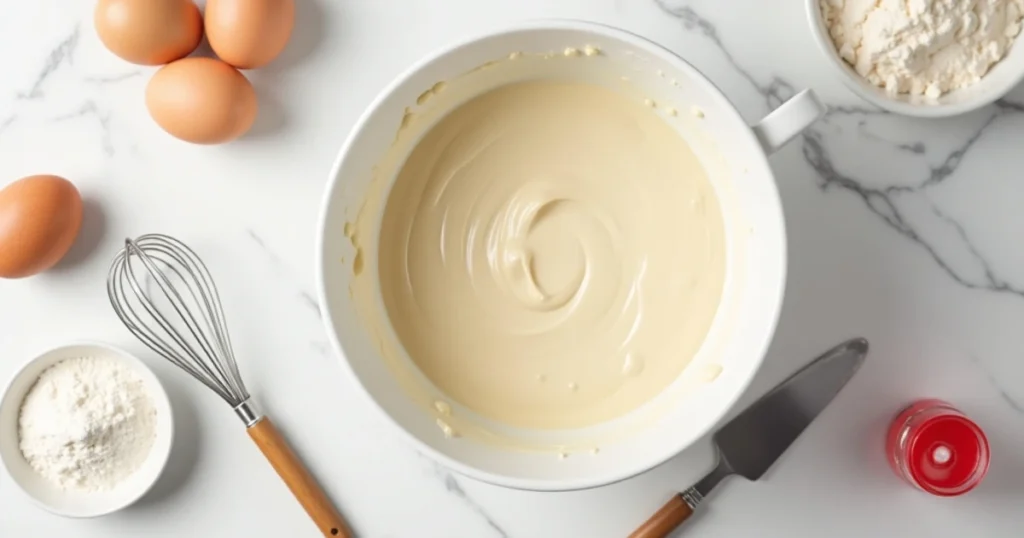
Preparing the Cake Batter
- Combine Dry Ingredients: In a large bowl, mix together the all-purpose flour, baking powder, and a pinch of salt. Sift the mixture to remove any lumps.
- Cream Butter and Sugar: In another bowl, beat the softened butter and granulated sugar until the mixture is light and fluffy. This step aerates the batter, giving the cake a soft texture.
- Add Eggs and Vanilla: Gradually add the eggs, one at a time, ensuring each is fully incorporated. Stir in the vanilla extract for added depth of flavor.
- Incorporate Wet and Dry Mixtures: Slowly combine the dry ingredients with the wet mixture, alternating with milk. Stir until the batter is smooth and consistent.
- Add Food Coloring: To achieve a romantic hue, mix in red or pink food coloring until you reach the desired shade.
Creating the Heart Shape (DIY Method)
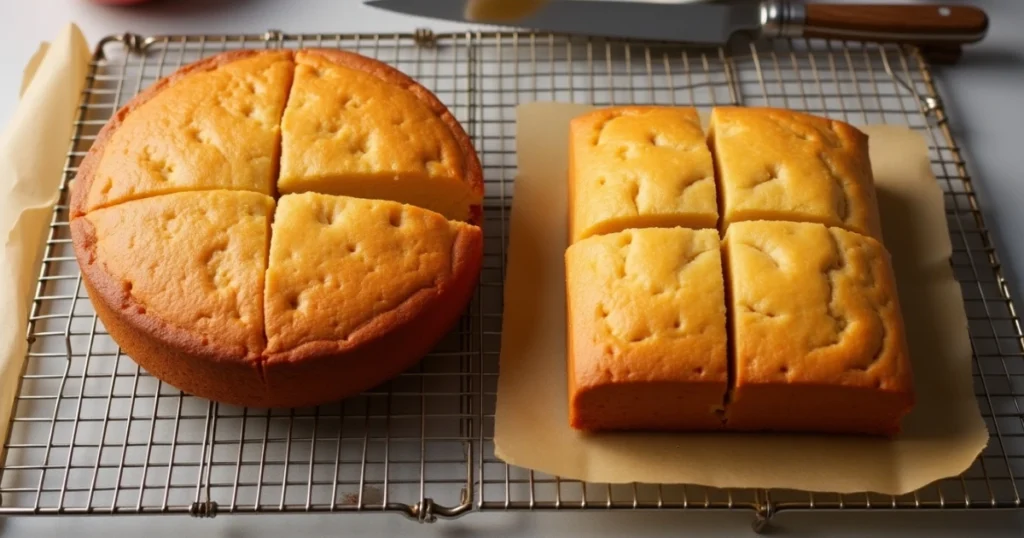
If you don’t have a heart-shaped pan, there’s no need to stress! You can easily craft the shape using everyday pans:
- Use a Round and Square Pan: Grease both pans and pour the batter evenly into them.
- Cut and Arrange: After baking, let the cakes cool. Cut the round cake in half and position the halves against the sides of the square cake to form a heart.
Baking the Cake
- Preheat the Oven: Heat your oven to 350°F (175°C) and allow it to fully warm up.
- Prepare the Pans: Grease the pans thoroughly and line them with parchment paper for easy cake removal.
- Distribute the Batter: Pour the batter evenly into the pans and smooth the surface.
- Bake: Place the pans in the oven and bake for 30–40 minutes. Check for doneness by inserting a toothpick into the center—it should come out clean.
- Cool the Cake: Let the cakes rest in their pans for about 10 minutes, then transfer them to a wire rack to cool completely.
Leveling the Cake
Once your cake has cooled, check for uneven surfaces. If necessary, use a serrated knife to trim the top for a flat, even base perfect for decorating.
Decorating Your Heart Cake for a Stunning Finish
Frosting Options
Choose from these frosting varieties based on your taste:
- Buttercream Frosting: Smooth, creamy, and easy to shape. Add food coloring for a romantic touch.
- Whipped Cream Frosting: Light and airy for a delicate finish.
- Chocolate Ganache: A rich, decadent option that pairs well with most cake bases.
Creative Decorations
- Piping Rosettes: Use a piping bag to create elegant rosettes on the cake’s surface.
- Edible Glitter and Sprinkles: Add sparkle for a festive flair.
- Fresh Flowers: Use roses or violets to elevate the cake’s romantic look.
- Fresh Fruit: Garnish with strawberries, raspberries, or cherries for a vibrant and flavorful touch.
Tips and Tricks for Success
- Use a Cake Turntable: This makes frosting evenly a breeze.
- Chill the Cake Before Frosting: Refrigerate the cake for about 30 minutes to ensure a cleaner frosting process.
- Adjust Food Coloring: Use more for bold hues and less for pastel shades.
- Correct Uneven Layers: Trim them with a serrated knife for a polished appearance.
Serving and Storing Your Heart Cake
Serving Suggestions
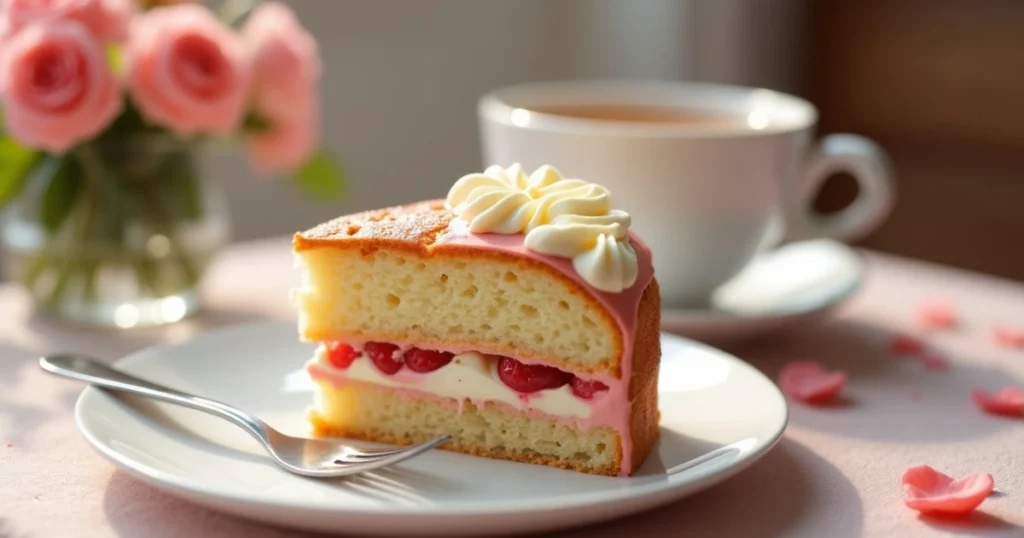
- Pair with Tea or Coffee: Ideal for a cozy gathering.
- Serve with Ice Cream: Enhance the indulgence by adding a scoop of vanilla or chocolate ice cream.
- Add Fruit Coulis: A drizzle of raspberry or strawberry coulis complements the cake beautifully.
Storing Instructions
- At Room Temperature: Store in an airtight container for up to three days.
- Refrigeration: Keep in the fridge for up to a week.
- Freezing: Slice and wrap individual portions in plastic wrap, then freeze for up to two months.
Bonus: Nutritional Information
| Nutrient | Amount Per Serving |
| Calories | 280 kcal |
| Total Fat | 12 g |
| Saturated Fat | 7 g |
| Carbohydrates | 38 g |
| Protein | 4 g |
| Sugar | 22 g |
FAQs About Heart Cakes
- How Can I Shape a Heart Cake Without a Special Pan? You can create a heart shape by combining a round and square cake. Cut the round cake in half and position the halves against the sides of the square cake.
- Can This Recipe Be Made Gluten-Free? Yes! Substitute all-purpose flour with a gluten-free baking mix, following the instructions for best results.
- How Do I Prevent Sticking? Thoroughly grease your pans and line them with parchment paper.
- Can I Use Natural Food Coloring? Absolutely! Natural options like beet juice or pomegranate juice can achieve a lovely hue.
Conclusion
A heart-shaped cake is a timeless way to express love and affection. Whether for a romantic celebration or simply to brighten someone’s day, this recipe will guide you in creating a dessert that’s as stunning as it is delicious. Gather your ingredients, channel your creativity, and start baking! Share your creations and tips in the comments below, and don’t forget to explore our other exciting recipes. Happy baking!