Kataifi pastry, with its distinctive shredded phyllo texture, is a staple in Mediterranean and Middle Eastern cuisine. Whether you’re planning to create a sweet syrup-soaked dessert or a savory dish, mastering this delicate pastry can open up a world of culinary possibilities. This guide will walk you through everything you need to know about kataifi pastry—from its origins and essential tools to step-by-step instructions and creative recipe ideas.
Table of Contents
What Is Kataifi Pastry?
Origins of Kataifi Pastry
Kataifi pastry has a rich history rooted in Greek and Middle Eastern culinary traditions. Originally developed as a variation of phyllo dough, kataifi is known for its fine, shredded texture. It has been a cornerstone of desserts like baklava and has expanded into modern fusion dishes, making it a versatile ingredient for both traditional and contemporary recipes.
Key Characteristics of Kataifi Pastry
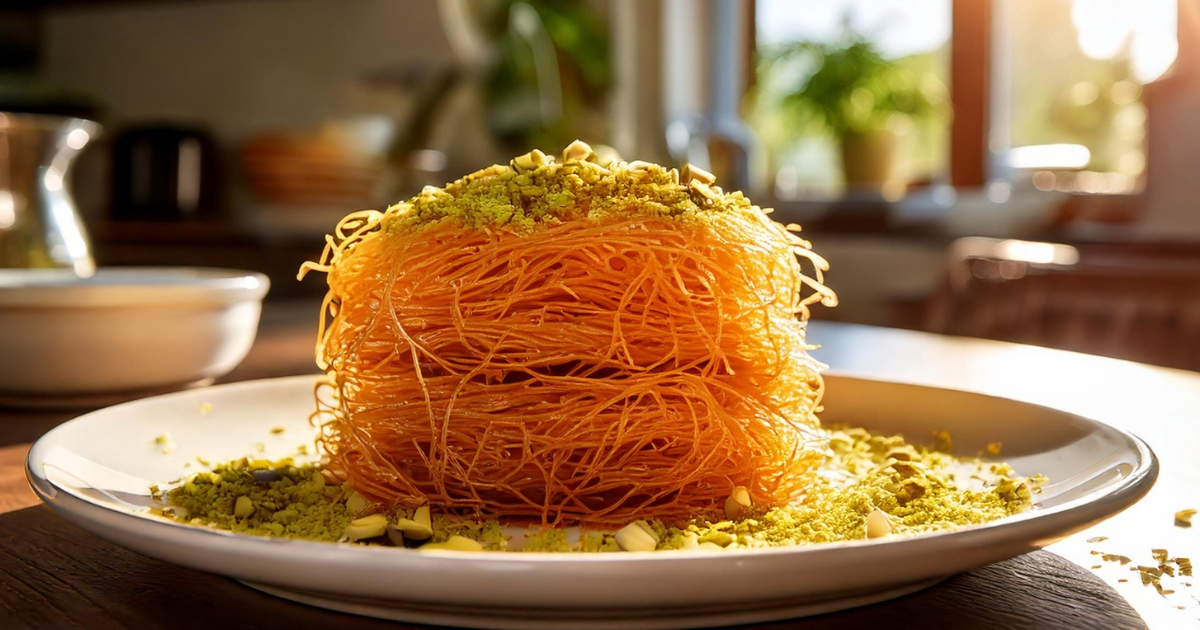
Kataifi is unique for its thread-like strands, which are delicate yet durable when handled correctly. Unlike traditional phyllo sheets, kataifi is shredded into fine strands, making it perfect for wrapping, layering, or forming intricate shapes like nests and rolls.
Popular Dishes Made with Kataifi Pastry
You’ve likely encountered kataifi in dishes like syrup-soaked rolls filled with nuts, cream-filled nests, or savory appetizers wrapped in strands of buttery dough. Its versatility makes it a favorite for chefs and home cooks alike.
Essential Ingredients and Tools for Making Kataifi Pastry
Ingredients You’ll Need
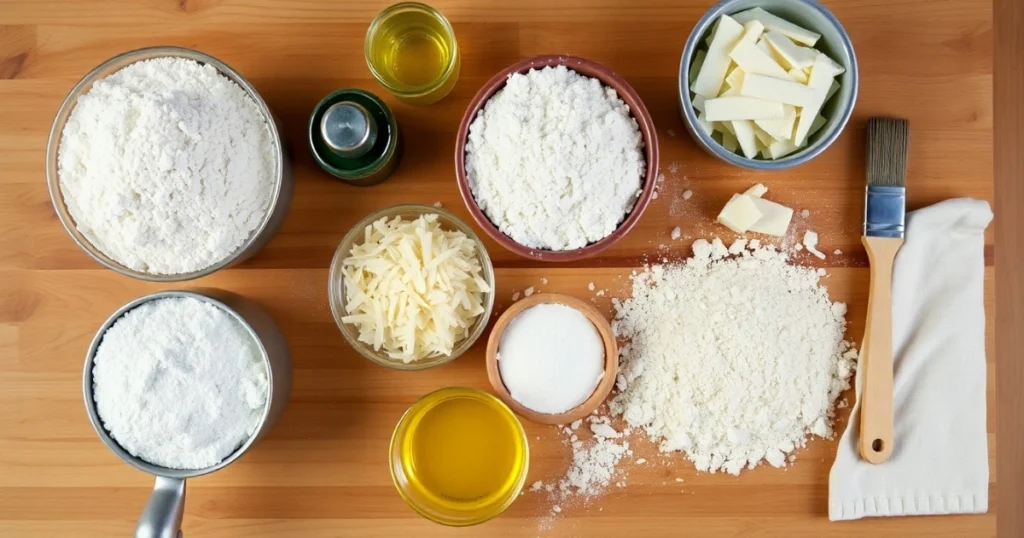
To create kataifi pastry from scratch, you’ll need basic ingredients that are likely already in your kitchen:
- Flour: Choose all-purpose flour for a soft yet durable dough.
- Water: Essential for hydrating the flour.
- Cornstarch: Helps achieve the silky, thread-like texture.
- Olive Oil or Butter: Adds richness and helps with layering.
- Optional Fillings: Walnuts, pistachios, cheese, or spiced meat for creative recipes.
Tools and Equipment
The right tools can make all the difference:
- Shredder or Kataifi Maker: Essential for achieving the signature shredded texture.
- Baking Trays: For layering and shaping the pastry.
- Brushes: To evenly apply butter or oil between layers.
Tips for Ingredient Preparation
- Always sift your flour to ensure a smooth dough.
- Use room-temperature water for easier mixing.
- Fresh, high-quality nuts or cheese can elevate your recipes.
Step-by-Step Guide to Making Kataifi Pastry
Preparing the Dough
- In a large bowl, combine sifted flour, cornstarch, and a pinch of salt.
- Gradually add water while mixing until the dough forms a smooth consistency.
- Knead gently for 5-7 minutes, then cover with a damp cloth and let it rest for 30 minutes. This resting period enhances elasticity.
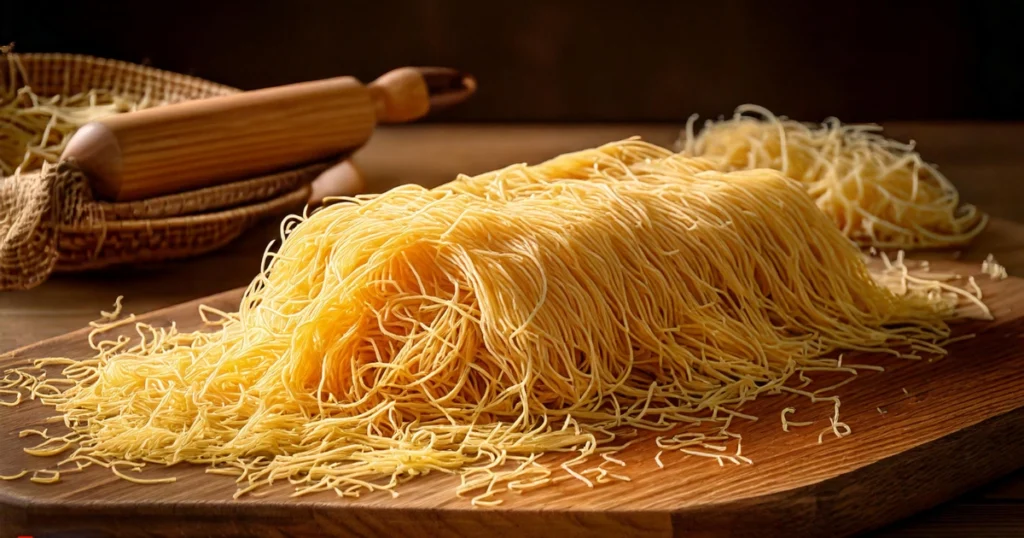
Shredding the Dough
- Once the dough is rested, divide it into small portions.
- Roll each portion out thinly on a floured surface.
- Use a shredder or specialized kataifi maker to create fine, thread-like strands. Work patiently to avoid breaking the dough.
Understanding the Importance of Technique
Mastering kataifi pastry requires patience and precision, but don’t let that intimidate you. Focus on the small details, such as maintaining an even thickness while shredding or ensuring that each strand is coated with butter for the perfect crispness. If you encounter issues, such as the strands sticking together or breaking, take a moment to assess your workspace—working in a cool, dry environment and keeping your tools clean can make a significant difference. Remember, even if your first attempt isn’t perfect, practice will help you refine your skills and achieve better results each time.
Baking the Pastry
- Spread the shredded dough onto a baking tray in thin layers.
- Brush generously with melted butter or olive oil to prevent drying.
- Bake at 350°F (175°C) until the strands turn golden brown and crisp.
Sweet and Savory Kataifi Recipe Ideas
Sweet Kataifi Rolls with Nuts and Syrup
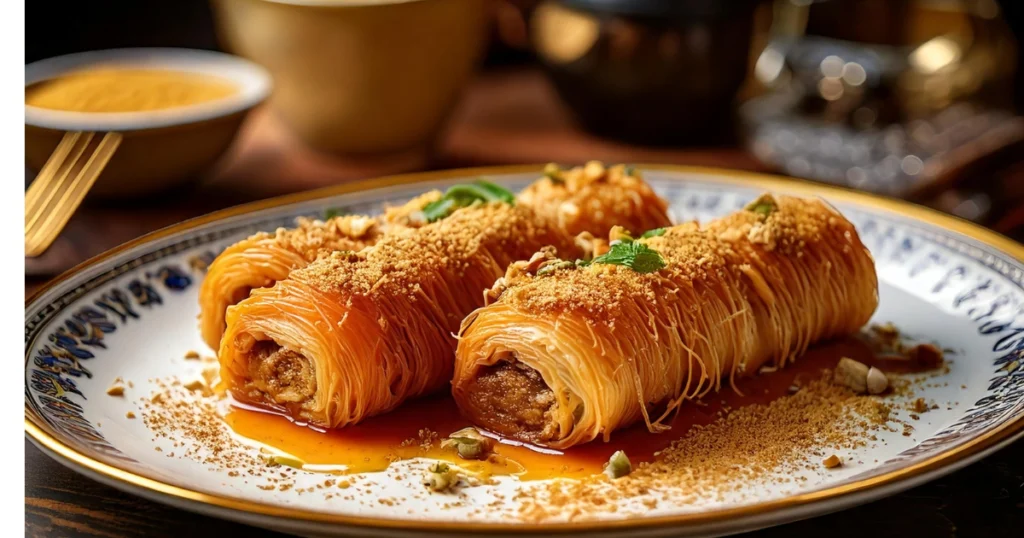
Create an indulgent dessert by filling kataifi strands with crushed walnuts or pistachios. Roll tightly, bake until golden, and drizzle with a fragrant syrup made from sugar, water, and lemon juice.
Cream-Filled Kataifi Nests
Form small nests with the shredded dough and bake until crisp. Fill them with whipped cream or custard and top with a sprinkle of crushed nuts or a drizzle of honey.
Savory Kataifi Pastries with Cheese or Meat
For a savory twist, wrap kataifi strands around cubes of feta cheese or spiced minced meat. Bake until crispy and serve as appetizers or side dishes.
Tips and Tricks for Perfect Kataifi Pastry Every Time
Common Mistakes to Avoid
- Over-drying the Dough: Keep the dough moist during preparation to prevent cracks.
- Uneven Shredding: Consistency is key for even cooking.
- Skipping Butter or Oil: This step ensures the pastry stays flaky and prevents burning.
How to Store and Reheat Kataifi Pastry
- Store uncooked kataifi in an airtight container in the refrigerator for up to a week.
- To reheat, bake at a low temperature until crisp. Avoid microwaving, as it can make the pastry soggy.
Creative Twists on Kataifi Pastry
- Experiment with fusion flavors like chocolate drizzle or caramel.
- Use kataifi as a crust for cheesecake or as a topping for ice cream.
Conclusion
Making kataifi pastry at home may seem challenging, but with the right guidance, it becomes an achievable and rewarding experience. By mastering the techniques outlined in this guide, you’ll open the door to a variety of sweet and savory recipes that can impress your family and friends.
Ready to bring the flavors of the Mediterranean to your kitchen? Try your hand at kataifi pastry today and let us know how your creations turn out! For more inspiring recipes, subscribe to our newsletter or explore other Mediterranean delights on our blog.